Key Takeaways
Roof flashing is the quiet barrier that directs water away from vulnerable seams, joints, walls, and penetrations. Knowing where it is installed, and what failure looks like, can help you catch small problems before they become interior damage.
- Roof flashing redirects water away from roof joints and penetrations.
- Step, counter, apron, and valley flashing serve different purposes.
- Chimneys, skylights, walls, and vent pipes need careful flashing details.
- Ontario freeze-thaw cycles, wind, snow, and ice can expose weak installation.
- A professional inspection can distinguish a repairable detail from a larger replacement need.
What Is Roof Flashing & Why It’s Critical to Your Roof System
Roof flashing is a thin, shaped material installed where roofing materials meet one another or meet another part of the home. Its job is to guide water over and away from those transitions instead of allowing it to work into seams, joints, edges, or openings. It is usually made from metal, although the right material depends on the location, surrounding materials, and design of the roof.
In our 25+ years serving Georgetown, Halton Hills, and the wider GTA, flashing failure is one of the most common hidden causes of leaks we find during inspections, often well before a homeowner ever notices a stain. Shingles shed most rainfall across broad roof surfaces, but they cannot reliably protect every change in direction. A wall intersection, chimney, skylight, or plumbing vent creates a break in that simple surface. Flashing bridges the break and works with overlapping roofing layers, so water follows a controlled path downhill. Small flashing details matter because a leak may begin in a hidden area long before a ceiling stain appears.
Flashing is one part of a larger roof assembly, not an isolated patch of metal. Underlayment, shingles, ventilation, fasteners, and drainage all need to work together. This broader view is explained in our guide to complete roofing system components, which is useful when a flashing concern appears alongside other roof-age or installation concerns.
Types of Roof Flashing You Should Know
Roof flashing comes in several forms, and each one is shaped for a different water-management problem. The names can sound interchangeable, but the placement and layering of each type are what make it effective. Seeing the differences makes it easier to understand a contractor’s inspection notes and ask sensible questions about a repair.
Step Flashing
Step flashing consists of short, L-shaped pieces installed in a series where a roof slope meets a vertical wall. Each piece is woven with a course of shingles, allowing the upper layer to overlap the flashing and the next piece to continue the drainage path. It is common at sidewalls, dormers, and similar roof-to-wall intersections, where a continuous strip alone may not accommodate movement between materials. Most step flashing on GTA homes is aluminum or galvanized steel, both of which typically hold up for 20 to 25 years when properly installed and maintained.
Counter Flashing
Counter flashing is installed over or into a vertical surface, commonly at a masonry chimney, to protect the top edge of base flashing. The two layers work together: base flashing manages water at the roof plane, while counter flashing covers the vertical joint and helps prevent water from reaching the masonry opening. If mortar joints deteriorate or the counter flashing pulls away, the whole assembly can begin to leak. We see this exact pattern often on older Halton Hills chimneys, where decades of mortar wear finally let the counter flashing separate.
Continuous (Apron) Flashing
Continuous, or apron, flashing is a longer piece that directs water along the lower edge of a wall, curb, or other roof transition. It can be useful where one uninterrupted run provides a clean drainage plane. Because long pieces can expand and contract, installers need to account for movement and avoid details that force the metal to buckle or separate from adjacent materials.
Valley Flashing
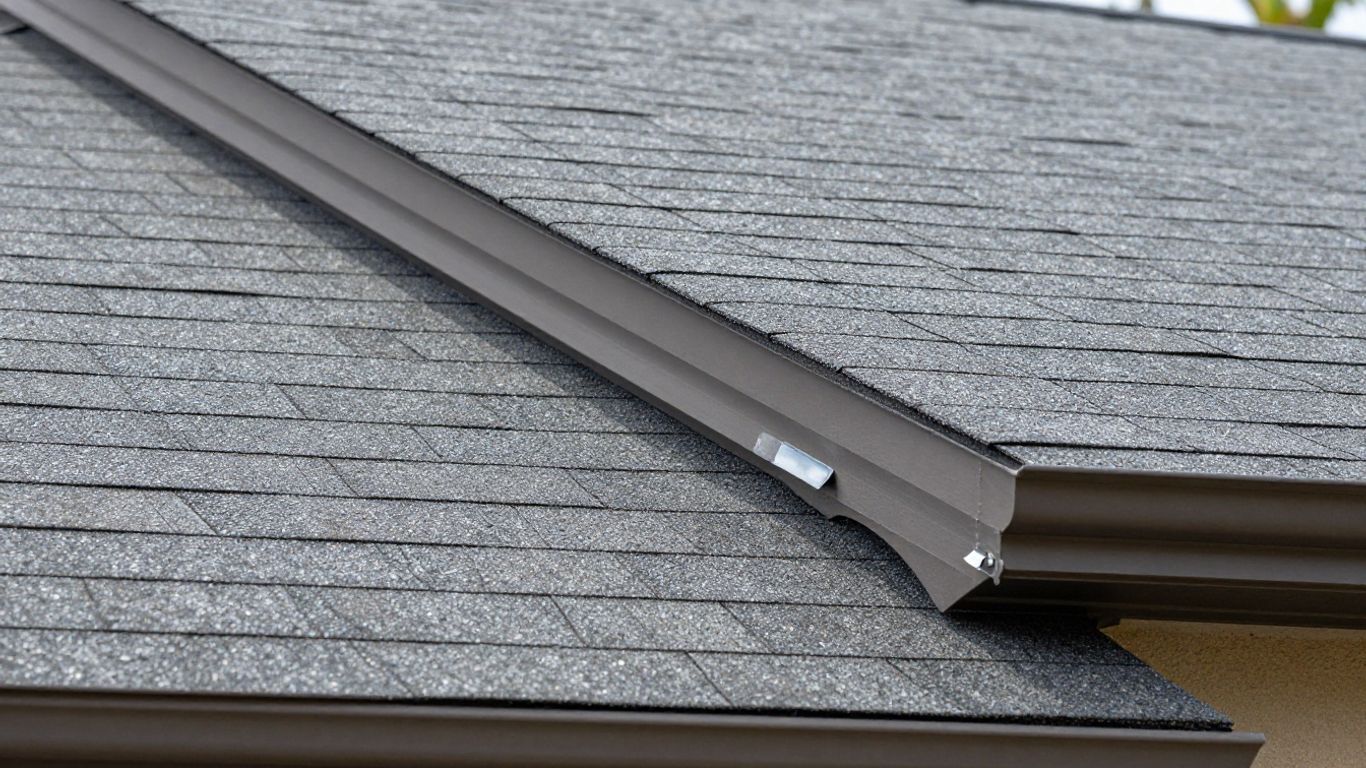
Valley flashing protects the channel where two sloping roof sections meet and collect runoff. Depending on the roof design, it may be concealed beneath roofing materials or form part of an open valley detail. Leaves, ice, and debris can slow drainage in this location, so the condition of the flashing and the surrounding shingles should be assessed together rather than viewed as two unrelated parts. One recent valley repair we completed in Oakville involved re-flashing a section where years of ice buildup had worked metal fasteners loose, a pattern that’s common on steeper GTA roofs facing prevailing wind.
Where Roof Flashing Is Installed (Common Locations)
Roof flashing appears wherever water could otherwise gather at a change in plane or pass through the roof covering. Some pieces are visible, while others are tucked beneath shingles, siding, or masonry. The visible condition can therefore tell only part of the story; a proper review considers how the layers overlap and where water is meant to travel.
Chimney Flashing
Chimney flashing typically includes components at the lower, side, and upper edges of the chimney, along with counter flashing set into or against the masonry. The arrangement has to accommodate both roof drainage and the chimney’s vertical surface. Cracked mortar, loose metal, damaged shingles, or a failed seal around the upper edge can all create an entry point for wind-driven rain. On a recent chimney flashing job we completed in Brampton, the original flashing had been installed too tight against the masonry with no allowance for seasonal movement, which is a common installation shortcut that eventually causes leaks.
Skylight Flashing
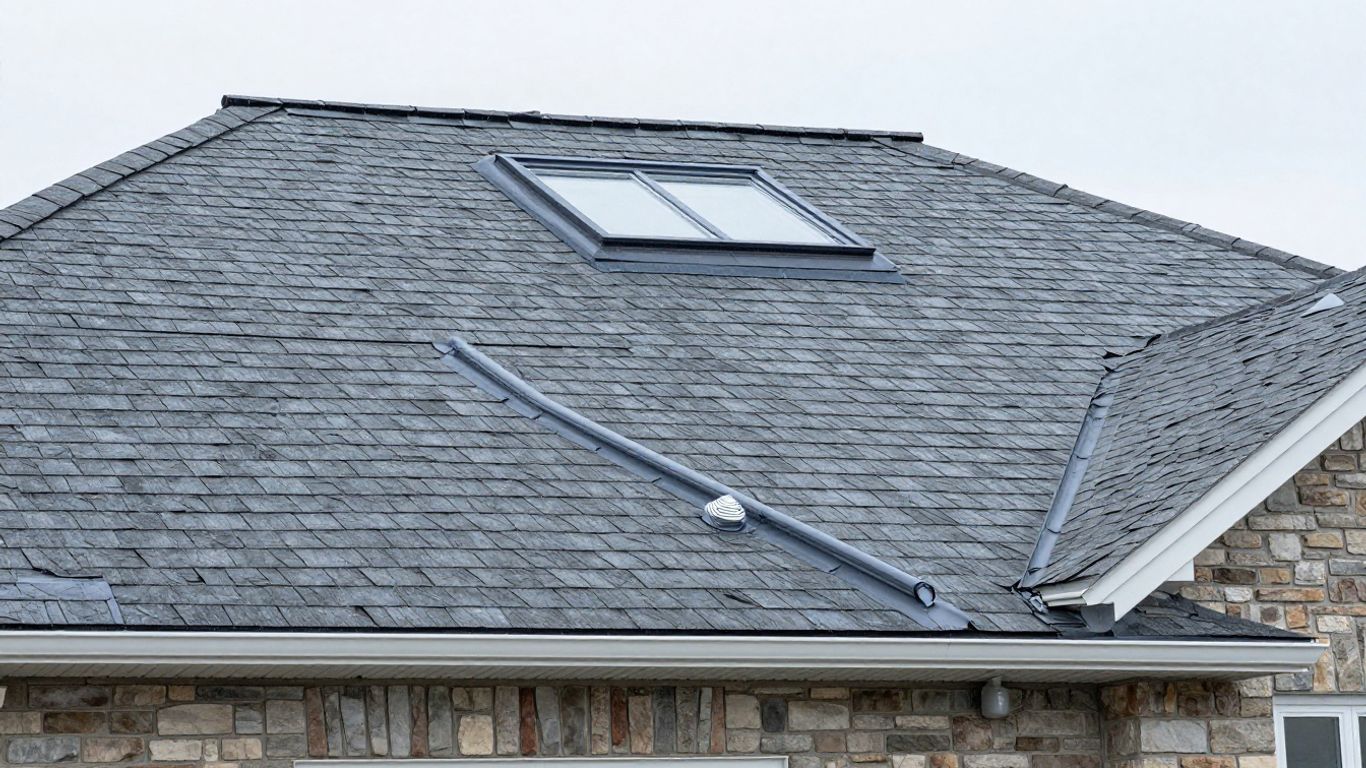
Skylight flashing forms a drainage frame around the skylight curb or unit. It must integrate with the shingles and underlayment on every side, particularly at the upper edge where water arrives first. Leaks around a skylight are not always caused by the glass or frame itself; roofing layers and flashing details deserve equal attention during diagnosis. If you’re weighing a new installation, our skylights and sun tunnels installation covers how proper flashing is built into the process from the start.
Vent Pipe & Roof Penetration Flashing
Vent pipes and other roof penetrations use flashing collars or boots to close the gap around the object while allowing the roof to drain around it. Rubber components can crack with age, typically within 10 to 15 years, well before the surrounding shingles need replacing, and metal bases can corrode, lift, or become exposed as shingles wear. These small openings need deliberate detailing, since a poorly sealed penetration is one of the most common leak points we find during an inspection.
Signs of Roof Flashing Problems (What to Watch For)
Water stains on ceilings or upper walls are among the clearest warnings, but they do not identify the exact source. Water can travel along rafters, sheathing, insulation, or interior framing before it becomes visible. A stain near a chimney, skylight, wall, or bathroom vent should prompt an exterior inspection rather than an assumption that the nearest visible roofing material is at fault.
Outside, look for lifted or distorted metal, open seams, missing pieces, cracked sealant, loose chimney mortar, and shingles that appear damaged around a transition. Rust alone does not always mean immediate failure, but active corrosion, holes, or separated joints deserve attention. After heavy rain, damp attic insulation, dark roof decking, or daylight around a penetration can provide further clues.
Some flashing problems remain intermittent. A roof may stay dry during gentle rainfall and leak only when wind pushes water uphill or snow creates an ice buildup. Keep track of when the leak appears, where it shows inside, and whether it follows specific weather; that information can shorten the diagnostic process and reduce unnecessary patching. When our inspectors walk a roof, this is exactly the kind of pattern we ask homeowners about first, since it often points us straight to the failing detail before we even get on the ladder. If you’re already seeing active water intrusion, our roof leaks repair service covers diagnosis and repair for exactly this kind of issue.
Noticing any of these signs on your roof? Get a free flashing inspection →
What Causes Flashing Failure in Halton Hills & the GTA
Flashing failure is often a combination of age, movement, exposure, and installation details. Homes in Halton Hills and the GTA can have varied roof pitches, additions, masonry features, and repair histories, so two houses with similar shingles may have very different flashing conditions. A quick surface patch may hide the symptom while leaving the underlying transition unchanged.
During an inspection, common contributing conditions may include:
- Deteriorated sealant or exposed fasteners at a joint.
- Flashing that was cut, bent, or layered without allowing proper drainage.
- Shingles installed too tightly, too loosely, or incorrectly around a penetration.
- Movement where masonry, siding, and roofing materials expand at different rates.
These clues help establish whether water is entering at the flashing itself or arriving from a nearby roof component. They also explain why simply adding more caulk is rarely a dependable long-term answer. The repair should restore the intended water path and preserve the overlap between roofing layers. Debris is another frequent contributor; homes with overhanging trees often see leaves and branches collect in valleys and against flashing, holding moisture against the metal longer than it’s designed to handle.
How Ontario Weather Affects Roof Flashing
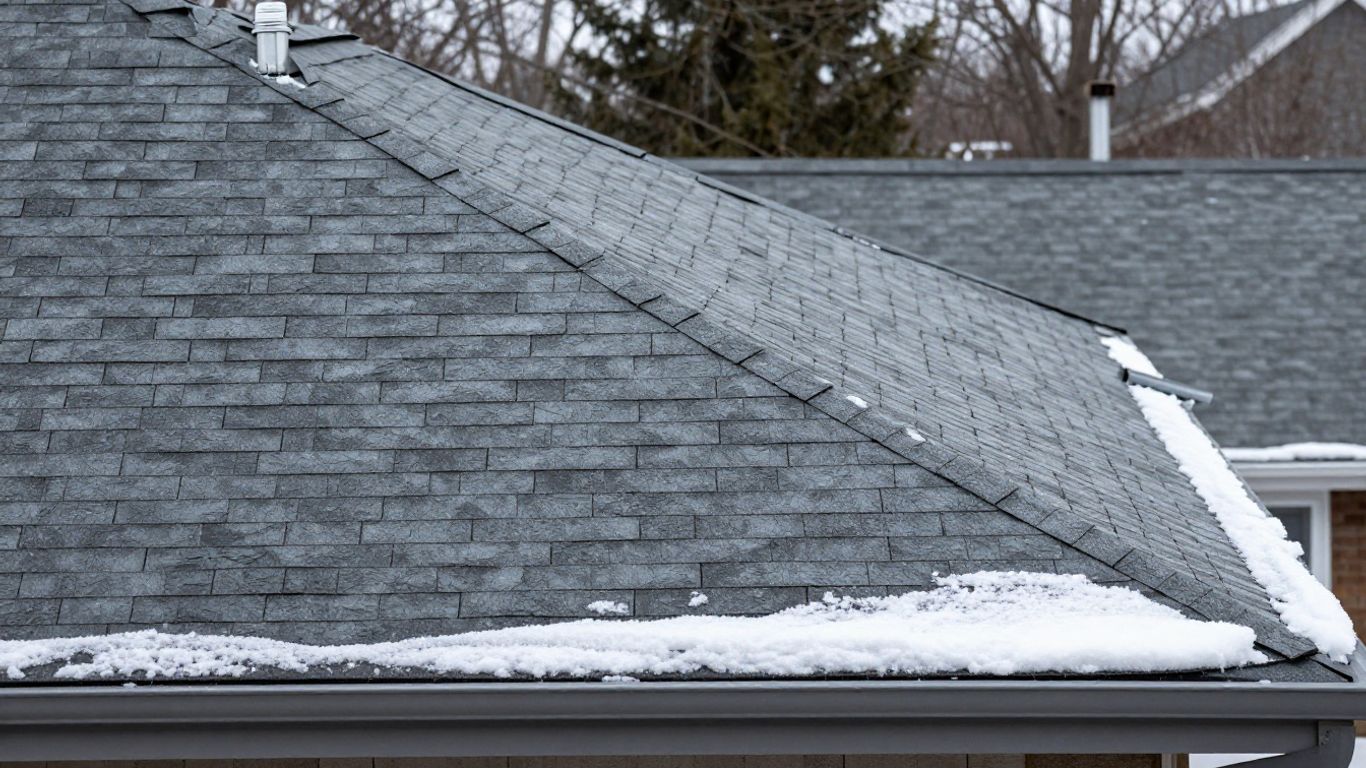
Ontario weather puts flashing through repeated cycles of wetting, drying, freezing, and thawing. Water that reaches a small opening can freeze and expand, gradually widening the gap. Strong wind can lift exposed edges or drive rain beneath overlaps, while snow and ice can place additional stress on low-slope transitions and roof penetrations.
Seasonal change also affects the materials around the flashing. Metal, shingles, masonry, sealants, and siding do not all move at the same rate as temperatures shift. Over time, that movement can loosen a joint that originally appeared sound. Gutters and valleys that drain poorly can add another burden by keeping vulnerable areas wet for longer periods. Homes in Oakville and Mississauga closer to Lake Ontario tend to see more wind-driven rain from lake-effect weather, while higher-elevation Halton Hills and Georgetown properties often deal with heavier ice accumulation along valleys and eaves.
A spring inspection is useful after winter, but timing should follow the symptoms rather than the calendar alone. If a leak appears during a summer storm, it still warrants prompt attention. Ice buildup along the eaves is one of the most common winter culprits we see, and our ice dam removal service is often the fastest way to stop active water intrusion before it reaches the flashing and decking underneath.
Repair or Replace? How to Decide
A localized repair may be reasonable when the flashing is correctly shaped, firmly attached, and affected by a limited issue such as a failed seal or a small damaged section. The surrounding shingles and substrate must also be in suitable condition. Repairing one joint makes less sense if adjacent metal has widespread corrosion or the roof covering has already lost its ability to shed water.
Replacement becomes more likely when flashing is missing, extensively rusted, incorrectly installed, or buried beneath layers that cannot be safely separated. A professional may need to remove nearby shingles or masonry trim to inspect the full overlap. That work can look more involved than a surface patch, but it gives the new detail a chance to connect properly with the existing roof system.
The decision should follow diagnosis, not simply the age of the flashing. Ask what failed, how far the damage extends, whether water reached the deck or framing, and how the proposed work will redirect runoff. Those answers create a practical scope and help prevent a small visible symptom from being treated as the entire problem. On our site visits, we walk homeowners through exactly this reasoning before recommending a scope of work, rather than defaulting to a full replacement.
Roof Flashing Repair Cost in Ontario (2026)
Roof flashing repair costs in Ontario vary because “flashing repair” can describe anything from resealing one accessible joint to rebuilding a chimney or roof-wall intersection. Labour access, roof pitch, material choice, the amount of shingle removal, and concealed water damage all affect the final price. A site assessment is more useful than a generic online figure when the leak source is uncertain, but the ranges below reflect what we typically see across Halton Hills and the GTA.
| Work scope | What may affect the cost | Typical price range (CAD) |
|---|---|---|
| Localized seal or small detail repair | Access, preparation, and limited material replacement | $250 – $600 |
| Roof-wall or penetration flashing replacement | Shingle removal, new layered flashing, and surrounding condition | $600 – $1,500 |
| Chimney or extensive transition rebuild | Masonry condition, access, hidden deck damage, and larger tear-out | $1,500 – $4,000+ |
After a contractor identifies the source, request a written scope that separates labour, materials, removal, disposal, and any allowance for concealed damage. This makes the estimate easier to compare and clarifies what is included. It also helps you avoid choosing a low initial price that leaves the critical overlap or drainage detail unresolved. If flashing damage turns out to be widespread or tied to an aging roof covering, our roof replacement cost guide for Georgetown homes breaks down what a full replacement typically involves.
Why Professional Roof Flashing Installation Matters
Flashing is easy to underestimate because much of it disappears beneath shingles or behind other materials. Correct installation depends on sequence: the pieces must overlap in the direction of water flow, integrate with underlayment and roofing, and remain secure without creating new openings. The detail also needs to suit the roof pitch and the movement of the materials around it, in line with Ontario’s Building Code (O. Reg. 332/12) requirements for weather-resistive roof detailing.
Manufacturer accessory warranties from brands like GAF and CertainTeed, which we install regularly, often require flashing to be installed by a certified contractor for the warranty to remain valid, something homeowners are sometimes surprised to learn after a DIY patch job.
A professional assessment can connect interior evidence with exterior conditions, attic observations, and the roof’s drainage pattern. That is especially helpful when several possible entry points are close together. Rather than treating every stain as a separate leak, the inspector can work toward the most likely failure point and define the work needed to correct it.
Good workmanship is not only about the metal itself. It includes careful removal, protection of nearby surfaces, appropriate fasteners, clean transitions, and a final check of the completed drainage path. A sound repair should leave the area easier to maintain and less dependent on exposed sealant.
Protect Your Home: Get a Free Flashing Inspection from Above It All Roofing
If you have noticed staining, damp attic materials, loose metal, or recurring leaks near a roof transition, arranging an inspection is a sensible next step. The goal is to identify where water is entering and whether the concern is limited to flashing or connected to shingles, underlayment, masonry, or roof decking. Prompt attention can keep a small opening from becoming a larger repair.
When discussing the visit, share the location of interior evidence and the weather conditions that seem to trigger it. Ask for photographs where practical, a clear explanation of the suspected entry point, and a written description of recommended work. These details make the process more useful even when the correct answer is monitoring rather than immediate replacement.
Above It All Roofing has served Georgetown, Acton, Milton, Oakville, Burlington, Mississauga, Caledon, and Etobicoke for over 25 years, and is fully licensed and WSIB-insured contractor. Request a free flashing inspection to get a clearer understanding of the condition around your roof’s vulnerable transitions before deciding how to proceed.
Conclusion
Roof flashing may be tucked out of sight, but it plays a central role in keeping water moving away from the places where a roof changes direction or meets another structure. Understanding its types, locations, warning signs, and weather exposure makes it easier to respond early and choose a repair based on evidence rather than guesswork.
Frequently Asked Questions
What does roof flashing do?
Roof flashing redirects water away from seams, edges, roof-to-wall intersections, chimneys, skylights, vents, and other vulnerable transitions. It works with shingles and underlayment to keep runoff on the intended path.
How long does roof flashing last?
Its service life depends on the material, installation quality, exposure, surrounding roofing, and maintenance. Aluminum and galvanized steel flashing typically last 20 to 25 years, while copper flashing can exceed 50 years. Flashing can fail earlier when it is poorly layered, repeatedly exposed to standing water, or affected by movement and corrosion.
Can roof flashing be repaired without replacing shingles?
Sometimes a limited repair can be completed with minimal shingle removal, but proper access may require lifting or removing nearby shingles. The right approach depends on how the flashing is layered and where the failure actually begins.
Why does flashing leak during wind-driven rain?
Wind can push water beneath overlaps and into small openings that may not leak during calm rainfall. Loose edges, incorrect layering, deteriorated sealant, and poorly protected roof-wall joints are common reasons this happens, and it’s a pattern we see often on GTA homes exposed to open wind corridors.
Is rust on flashing always a serious problem?
Surface discoloration is not necessarily an immediate failure, but deep corrosion, holes, loose sections, or open seams should be assessed. The surrounding roofing and the metal’s ability to direct water matter more than appearance alone.
Should flashing be inspected after a roof replacement?
Yes. A roof replacement is an opportunity to confirm that flashing is correctly integrated with the new shingles and underlayment. Particular attention is useful around chimneys, skylights, walls, valleys, and plumbing penetrations.
What should I do if I find a ceiling stain near a roof edge?
Document the location and timing, then arrange an inspection rather than sealing the interior stain alone. If the area is wet, protect furnishings and address active water entry promptly while the exterior source is investigated.